




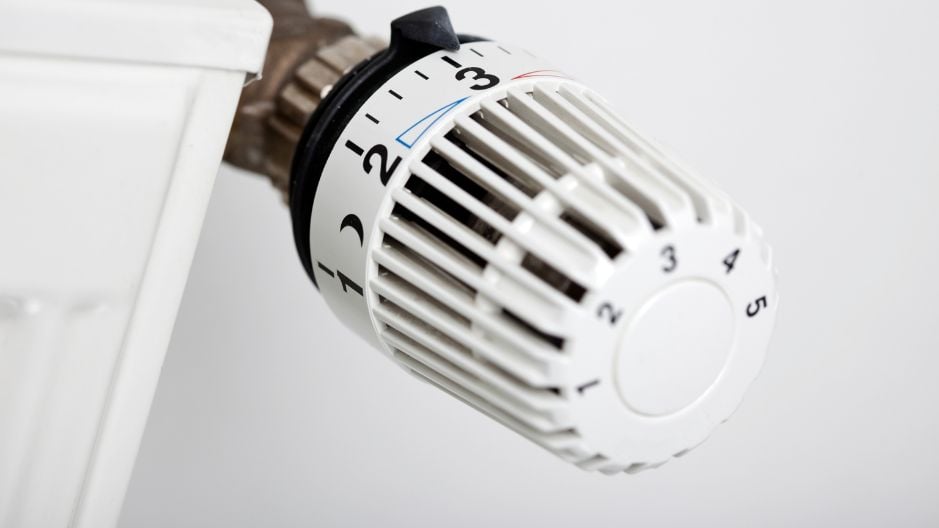
Upgrading your home heating controls with a modern TRV radiator thermostat is one of the most effective ways to lower heating bills and cut down on wasted energy.
Traditional manual valves act like simple tap handles, allowing water to flow regardless of how warm a room already is. Learning how thermostatic radiator valves work allows you to control the flow of hot water into individual radiators automatically, making it easy to save energy throughout your home.
If you are asking “how do I fit a thermostatic radiator valve?” the process is a manageable DIY job with basic tools.
This guide covers everything needed to change a thermostatic radiator valve safely and efficiently.
Estimated reading time: 4 minutes
Tools and Equipment Needed
Gather all necessary equipment before starting to ensure a seamless installation:
- TRV Radiator Thermostat Set: Includes the main valve body and the sensor head.
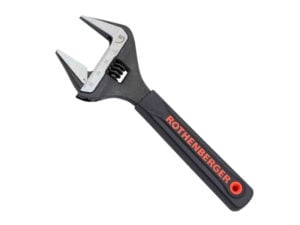
- Adjustable Spanners: Two spanners make holding and turning pipe fittings easier.
- Pipe Wrench: Holds the pipework steady and prevents twisting.
- Bleed Key: Essential for releasing air locks.
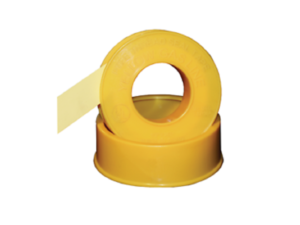
- PTFE Tape: Creates watertight seals on threaded joints.
- Drainage Bucket and Towels: Catches residual water inside the radiator.
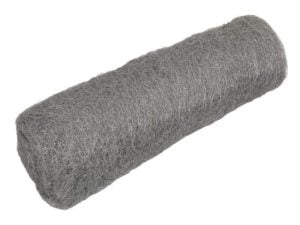
- Wire Wool: Cleans pipe ends before fitting new connections.
Step 1: Turn Off Heating and Prepare the Area
Safety comes first when working with domestic heating systems.
- Switch off your central heating boiler or heat pump completely.
- Allow the radiator system to cool to prevent burns from the flow of hot water.
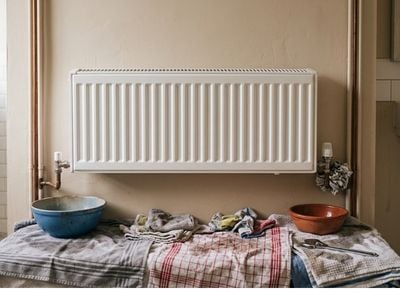
- Remove nearby rugs and lay down heavy towels or plastic sheeting beneath the radiator connections.
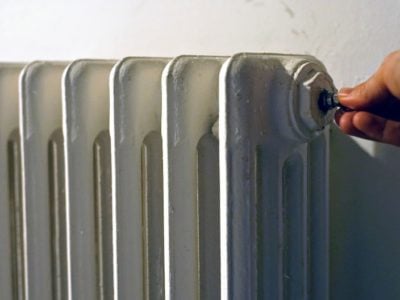
- Locate the existing manual valve on one side and the lockshield valve on the other.
- Turn both clockwise until fully tight to isolate the radiator from the main system.
Step 2: Drain the Radiator
Isolating the radiator limits water flow, but liquid remains trapped inside the panel.
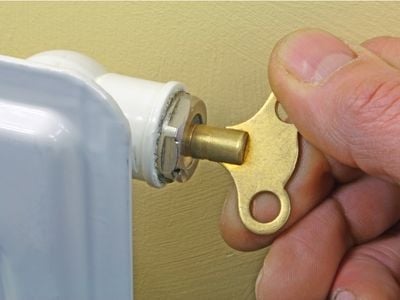
- Insert a bleed key into the top radiator valve and turn counter-clockwise to relieve internal pressure.
- Place a low-profile bucket directly under the valve cap nut you intend to replace.
- Use an adjustable spanner to loosen the nut connecting the valve to the radiator body slowly.
- Allow water to drain until the flow stops completely before removing the valve entirely.
Step 3: Remove the Old Valve Body
With the pressure relieved and water drained, remove the outdated hardware.
- Hold the valve body steady using a pipe wrench to protect the copper pipe.
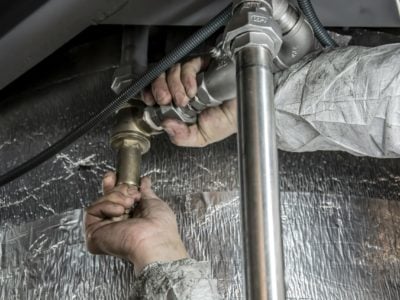
- Use your second spanner to unscrew the compression nut connecting the valve to the incoming pipe.
- Insert an Allen key or tail spanner into the radiator port and turn counter-clockwise to unscrew the old tail connector.
- Use wire wool to scrape away old jointing compound, rust, or degraded PTFE tape from the threads.
Step 4: Prepare and Fit the New Radiator Tail
A water-tight connection requires proper thread preparation.
- Take the new radiator tail included with your valve set.
- Wrap PTFE tape clockwise around the male threads 4 to 6 times to prevent unravelling during screwing.
- Thread the tail piece into the bottom port of the radiator panel.
- Tighten securely using an adjustable spanner, taking care not to over-tighten and damage the threads.
Step 5: Install the New TRV Body
Now you are ready to install the thermostatic radiator valve body onto the pipework.
- Slide the existing compression nut and brass olive onto the copper pipe.
- Place the new valve body onto the pipe, guiding the male threaded end into the newly fitted radiator tail.
- Hand-tighten the nuts onto the threads first to ensure they are properly aligned and not cross-threaded.
- Hold the valve body firmly using a pipe wrench and tighten the compression nuts with an adjustable spanner until snug.
Step 6: Attach the TRV Radiator Thermostat Head
The valve head contains the wax or liquid sensor that senses room air temperature to manage heat output for optimal energy saving.
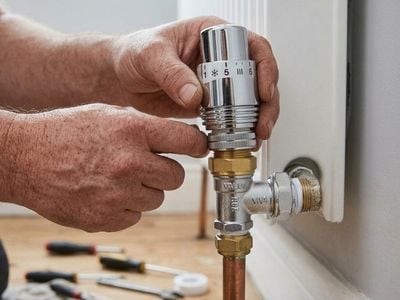
- Turn the dial on your TRV radiator thermostat head to its highest setting (usually number 5 or “MAX”).
- Align the valve head over the top pin of the installed valve body.
- Tighten the knurled collar ring at the base of the head clockwise until secured onto the valve threads.
Step 7: Refill, Bleed, and Inspect for Leaks
With the new valve fully mounted, test the installation.
- Turn the lockshield valve counter-clockwise to allow water back into the radiator panel.
- Open the top bleed valve with your bleed key to purge trapped air until a steady stream of water appears.
- Dry the new connections thoroughly with paper towels and inspect closely for weeping water.
- Turn your central heating boiler back on and set the dial to your desired room temperature setting (typically setting 3, around 20°C).
Troubleshooting Common TRV Issues
Radiator does not get warm
Ensure the valve pin beneath the valve head is moving freely.
If a room has been cold for a long time, the internal pin can stick down.
Remove the head and gently press the exposed metal pin with a flat tool to free it.
Water weeping from the compression nut
Turn off the system, drain slightly to relieve pressure, apply a small amount of jointing compound around the olive, and re-tighten.
Hammering or banging noises
Some TRVs are directional regarding the flow of hot water.
Verify that the flow arrow stamped on the valve body matches the direction of incoming water.
Related Blogs
Start Saving on Heating Bills Today
Fitting a TRV is just the first step toward a more efficient home.
Browse our online collection of radiator valves to get top-rated products at unbeatable prices.