




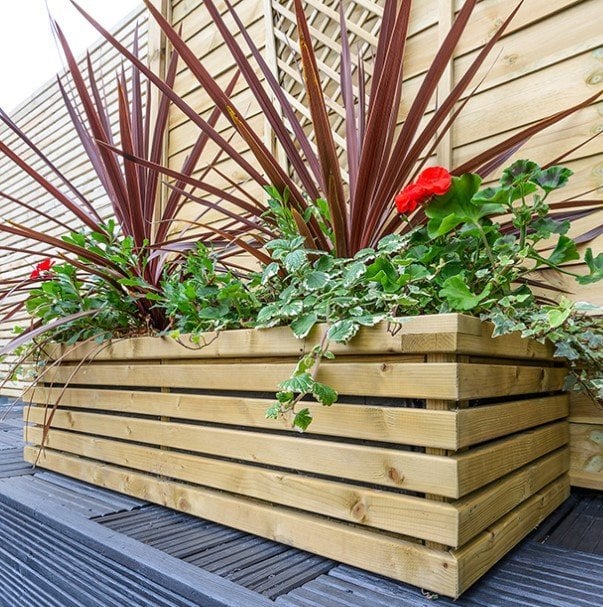
Building a raised retainer bed in your garden with treated timber sleepers is a great gardening project.
It gives you a neat, organized spot to grow plants, vegetables, or flowers. This fun idea adds both style and functionality to your outdoor space.
Our simple guide shows you how to build your own raised retainer bed using strong, heavy duty sleepers. Any DIY skill level can finish this easy project in just one weekend.
Estimated reading time: 4.5 minutes
Photo by Grange Fencing
Materials and Tools
Materials
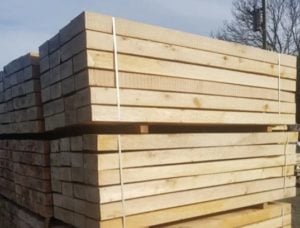
- Softwood, good quality structural timber, or oak sleepers (depending on preference)
- Gravel or Hardcore (to improve drainage)
- Wood Preservative (if cutting is required)
- Topsoil and Compost
Tools
- Exterior Wood Screws – 150mm
- Exterior Wood Screws – 250mm
- Drill
- Saw (if cutting is required)
- Tape Measure
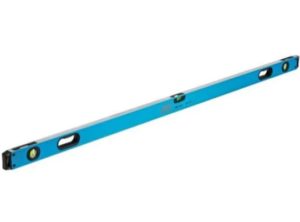
- Spirit Level
Planning
Choose Location
- Choose a suitable location in your garden for the raised bed
- Ensure it’s on relatively flat ground with good sunlight exposure if you’re planning to grow plants that need a lot of light.
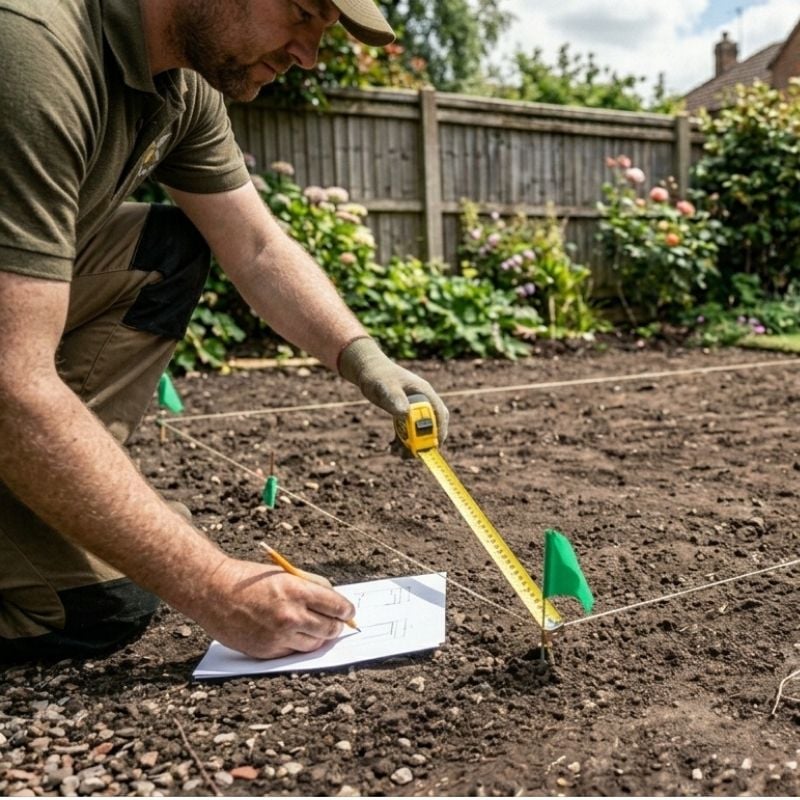
Measure The Area
- Use a tape measure to mark out the area where you want to place the raised bed.
Design Consideration
- Decide on the height of the bed. Typically, a raised bed is around 2 to 3 sleepers high, which provides sufficient depth for most plants.
Preparing the ground
Clear the area
- Remove any grass, weeds or debris from the area.
- If necessary, dig out the ground to level the area where the sleepers will sit.
Add a Weed Membrane (optional)
- Lay down a weed membrane over the cleared area to prevent weeds from growing through the soil in your raised bed.
- If you line your retainer bed, choose a porous material to improve drainage and let excess water escape.
Assemble the first layer
Position sleepers into shape
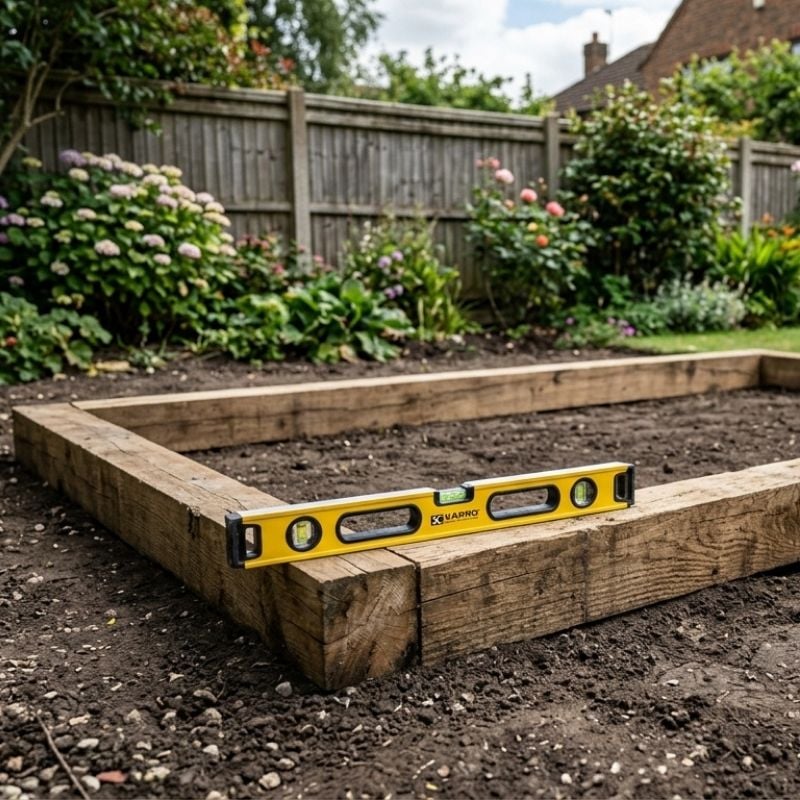
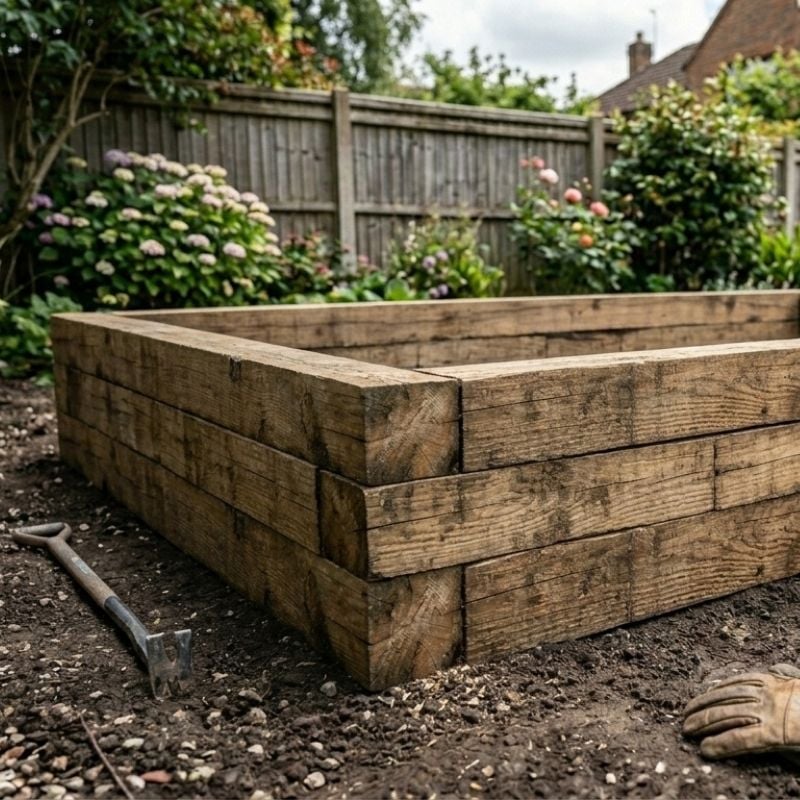
- Lay the first layer of sleepers directly onto the prepared ground in a rectangle. Place each sleeper with the narrow side facing down.
- Using oak sleepers or structural timber ensures a sturdy base.
- Use 2.4m sleepers for the long sides, and cut one sleeper in half to form the short sides.
- For a large bed, use 4.8m sleepers for the long sides and 2.4m sleepers for the short sides.
- Use a spirit level to make sure the sleepers are level. Adjust by adding or removing gravel underneath as needed.
Cut Sleepers
- If your design requires sleepers to be cut to size, measure and mark them before cutting with a saw.
- Ensure all cuts are straight for a neat finish, and apply wood preservative to any cut ends of treated timber.
Securing the frame
Secure the frame
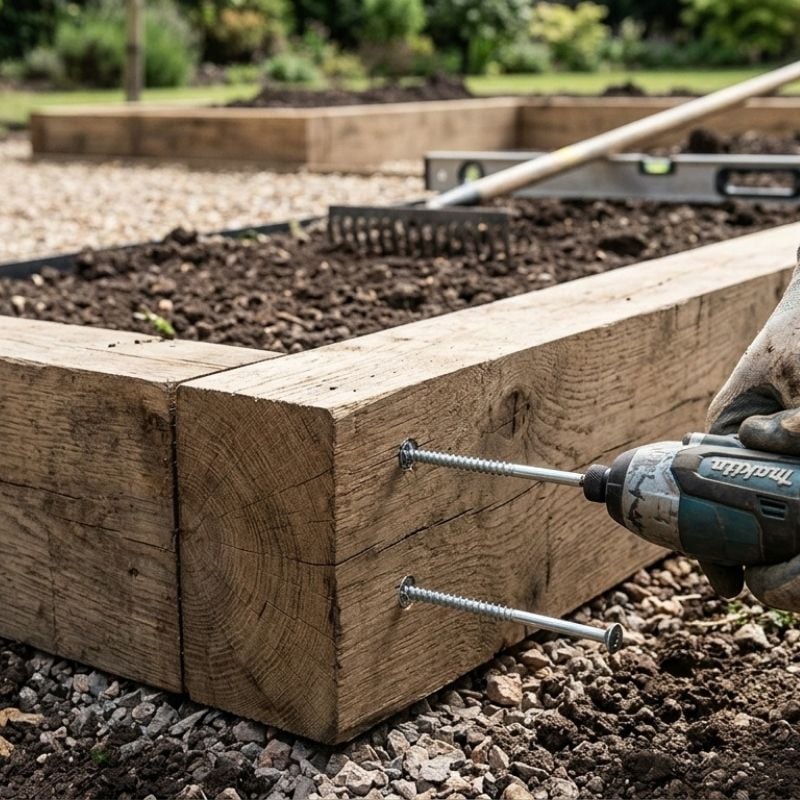
- Drive two 150mm timber screws into each corner to attach the sleepers tightly.
Add a base layer
- Hardcore or gravel works best for the base layer. Both options are cheap, stabilize the structure, and provide good quality drainage.



On to the second layer
- Lay sleepers on top of your first layer, ensuring joints are staggered, just like bricklaying, to ensure your frame is strong.
- Working one corner at a time, secure with two 150mm screws, and repeat until all corners are secure.
- If you’re working with oak sleepers or hardwood timber sleepers, it’s a good idea to pre-drill pilot holes to prevent splitting.
Securing the two layers together
- Ensure both layers are lined up and the edges of the frames are not overlapping.
- Align the edges of both frames so the layers stack flush.
- Pre-drill pilot holes to prevent the timber from splitting.
Working from the top surface of the upper layer of the shortest sides, drive 250mm timber screws downward to secure the two layers together. - For sleepers longer than 2.4m, drive extra screws along the long sides to give the frame added stability.
Adding an optional third layer
- Position the sleepers on top of the secured frame using the same method. Stagger the end joints so they do not align with the joints in the layer below.
- Working one corner at a time, secure each corner of the frame with two 150mm wood screws, and ensure a stable connection.
- When you’re ready to secure your third layer to the frame below, do so using 250mm in the same manner as before.
Top tip: When securing your third layer to the frame below using long timber screws, don’t forget those pilot holes to prevent splitting.
Finishing touches
- Check level and stability: Use a spirit level to verify the bed is even and sturdy.
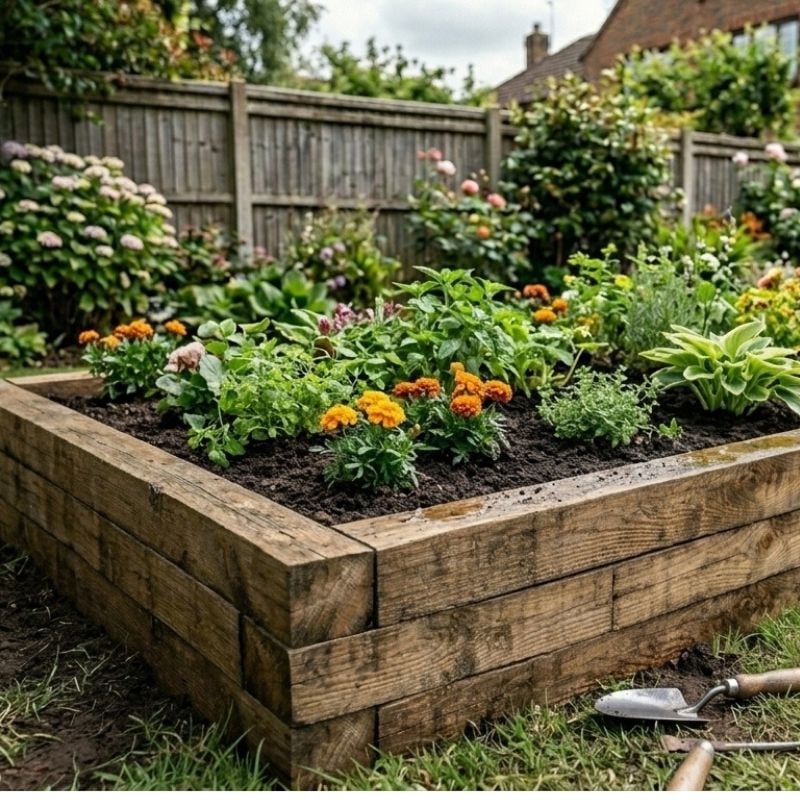
- Add soil: Fill the bed with high-quality topsoil and compost. Leave a few inches at the top for mulch and watering to create a rich growing environment.
- Plant: Add your preferred flowers, shrubs, vegetables and herbs to the soil. Position each plant according to its sunlight and water requirements.
Looking after your new raised retainer bed
Monitor soil moisture levels, especially during dry spells, because raised sleeper beds drain faster than ground-level beds.
Inspect the bed routinely to remove weeds.
Inspect the frame schedule-wise for damage or loose screws, and repair as needed.
Related Blogs


Ready to makeover your garden?
We offer FREE delivery within a 20 mile radius of our branches
We deliver Monday to Friday, between 8am and 5pm and usually within 3 working days of receiving your order.