




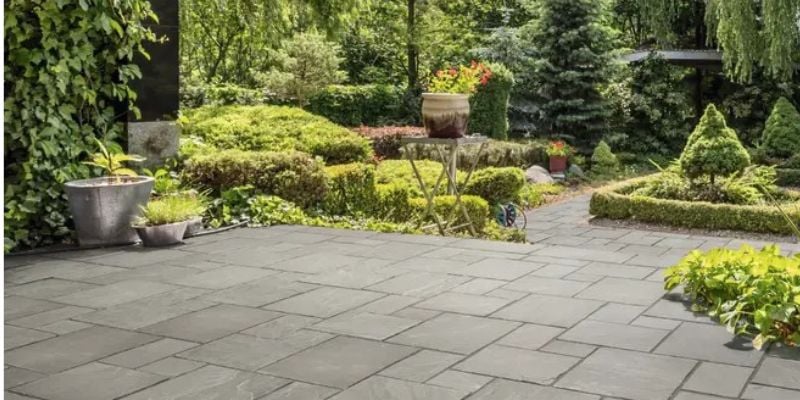
Laying sandstone paving can transform your outdoor space with a natural and stylish look.
Our guide specifically takes you through the process of installing Stonemarket Marketstone onto a full mortar bed.
It can also serve as a general reference for installing other types of sandstone, slate, and limestone paving.
Estimated reading time: 8 minutes
Photo by Stonemarket
Materials and Tools
Materials
- MOT Type 1 aggregate 40mm to dust
- Sharp sand
- Cement
- Jointing Compound
4:1 mortar joint can be used in place of compound, if preferred
Tools
- Tape measure
- Spirit level
- String line and pegs
- Spade and shovel
- Rake
- Wheelbarrow
- Rubber mallet
- Trowel
- Bucket
- Soft broom
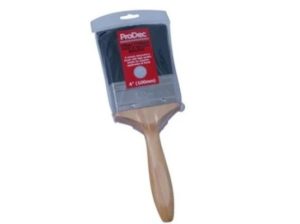
- General Purpose Brush 3in or 4in
- Protective gloves
- Protective goggles
Equipment
- Plate Compactor
- Cement Mixer
- Circular Saw
Planning and Preparation
Measure and Mark the Area
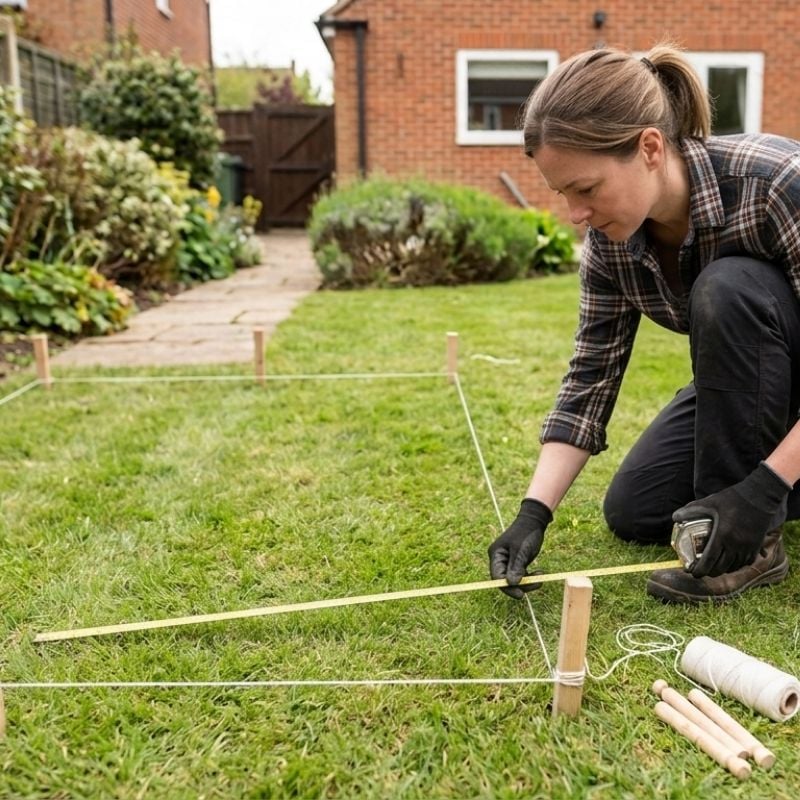
Accurately measuring and marking your area ensures you order the correct amount of materials and sets clear boundaries before work begins.
- Measure the area you want to pave
- Calculate the square metres required by taking the length and width of the area in metres, and multiplying together
- For example, an area 2m x 3m is 6m2.
- Check your chosen paving slabs cover the total area calculated
- Mark the outline with string and pegs
- When calculating amount of paving required, an extra 5% paving is recommended for wastage and cutting
Top tip: Dry lay your paving out on the grass now as a final check before you start digging up the garden. This is your last chance to easily adjust the laying pattern and make sure you are happy with the look, so take a quick photo to use as a reference later.
Excavate the Area
Proper ground preparation is essential for a long-lasting finish, starting with accurate digging.
- Check for underground pipes, cables or utility lines using a Cable Avoidance Tool before digging
- Ensure edge restraints or kerbs have been accounted for in your excavation width, and mortar bed and paving slab thickness in your excavation height
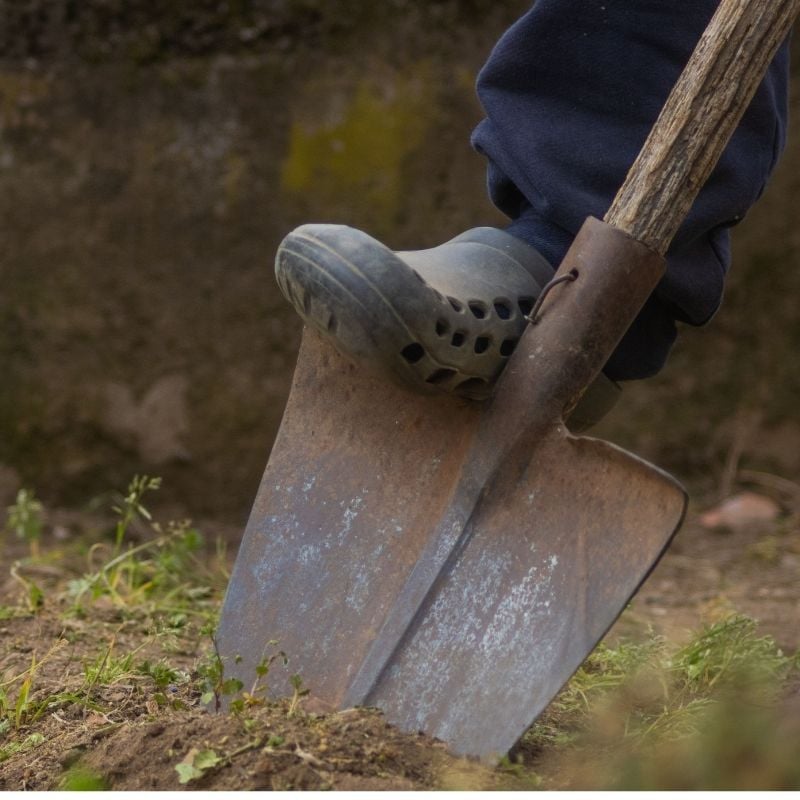
- Excavate to a minimum depth of 100mm
- Adjust excavation depth accordingly to account for paving slab thickness, mortar bed, and intended use or load
- Ensure the base is level and sloped slightly away from buildings for drainage, at a ratio of 1 in 80
- Where horizontall crossfall is required, this is a ratio of 1 in 40
Top tip: When being laid up to an existing structure, ensure the final surface of the paving slabs will be at least 150mm below the DPC to prevent problems with rising damp


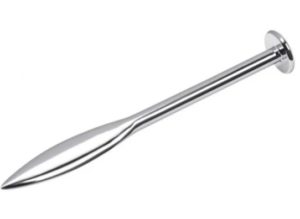
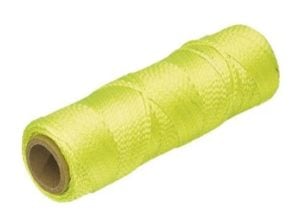
Brick Line High Vis Yellow 250ft
Laying the Sub-Base
Add First Layer of Sub-base Material
- Spread a layer of MOT Type 1 to a depth of 50mm. Use a rake to level it.
- Where adjustments are required, ensure this layer does not exceed 75mm in depth
- Use a plate compactor to firmly compact the sub-base
- Check for levelness and adjust as necessary
Add Second Layer of Sub-base Material
- Spread another layer of MOT Type 1 to a depth of 50mm. Use a rake to level it.
- Where adjustments are required, ensure this layer does not exceed 75mm in depth
- Use a plate compactor to firmly compact the new layer of sub-base
- Check for levelness and adjust as necessary
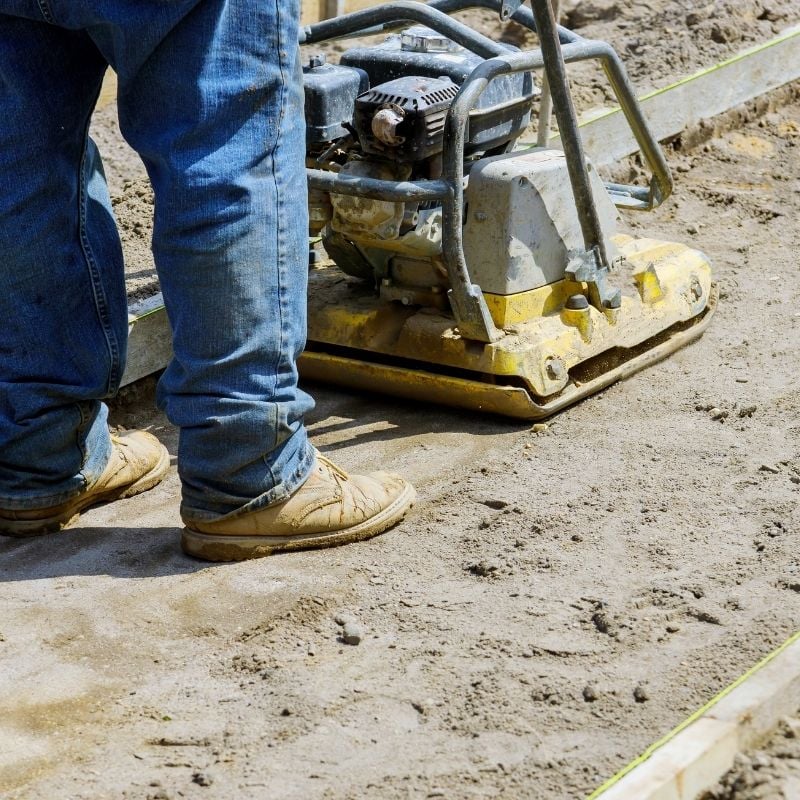
Need Sub-Base Materials?
We supply high-quality MOT Type 1 at all of our branches
Not sure how much you need?
Our knowledgeable team is on hand to help you calculate the exact quantities for your project so you get the perfect amount.
Laying Mortar and Paving
Mix a workable, wet mortar using 1 part cement to 4 parts sharp sand.
- Working in small, manageable sections, start from a corner or fixed point and spread a 30-40mm full bed of mortar over the sub-base.
- Apply a slurry primer to the reverse side of each paving slab immediately before it is placed on the mortar bed.
- Carefully set the first slab into position and tap it gently with a rubber mallet until securely bedded.
- Maintain a uniform 10mm joint gap between each slab, using paving spacers if required to keep spacing consistent.
- Check each slab continuously with a spirit level to ensure correct height, fall, and alignment against your string lines.
- Continue laying one slab at a time across the mortar bed, moving systematically across the space.
Top tip: Keep a wet sponge and bucket nearby to wipe off any mortar or slurry splashes from the face of the slabs immediately, as dry mortar leaves stubborn stains that are difficult to remove later.
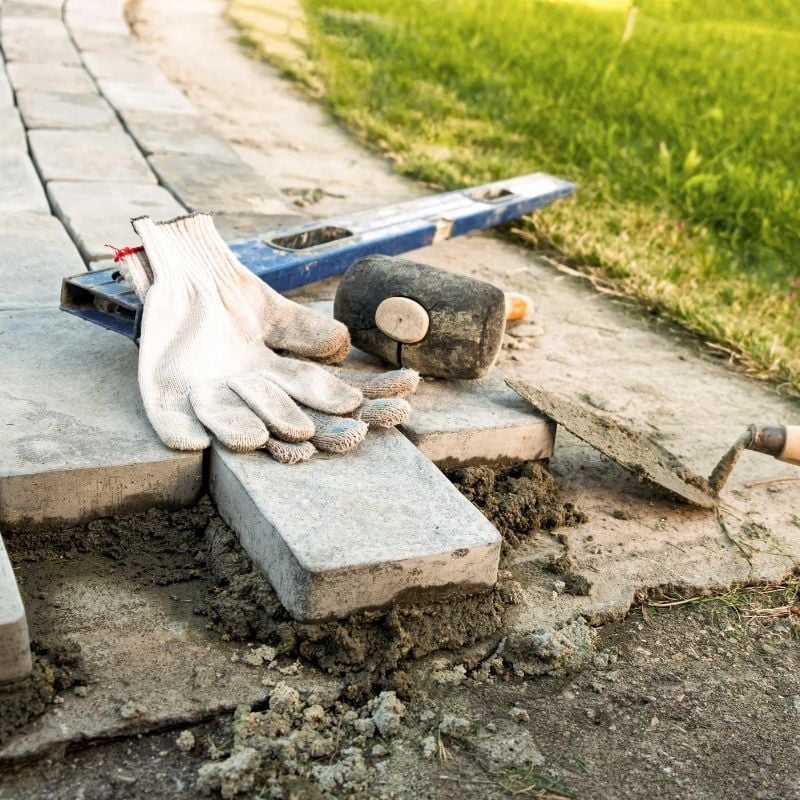
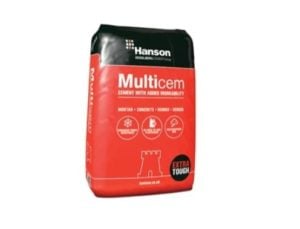



Save Time with Turnbull QuickMix
Skip the hassle of hiring a cement mixer and making a mess on site.
Our Turnbull QuickMix service provides high-quality, ready-mixed mortar that is perfectly proportioned and ready to use immediately.
Our dedicated QuickMix drive-in stations are fully operational and ready to serve you at our Spalding and Newark branches.
Finishing the Installation
With your paving slabs securely bedded, it’s time to put the final touches on your new patio. This closing stage ensures your hard work looks immaculate and remains structurally sound for years to come.
Jointing, Cleaning and Sealing
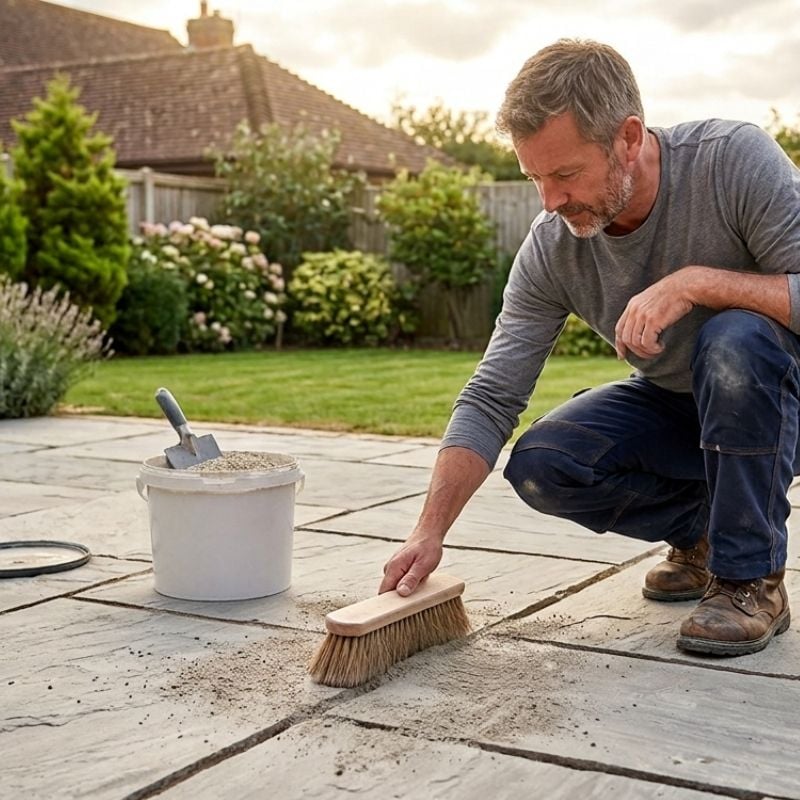
- Fill the spaces between slabs using a suitable jointing compound or a mortar mix of 4 parts sand to 1 part cement, thoroughly compacting it into every joint.
- Brush away any excess jointing material from the surface of the paving before it sets to prevent staining.
- Allow the joints to fully cure, then sweep the entire paved area thoroughly with a soft broom.
- Apply a quality patio sealer once the surface is clean and dry to protect your slabs against weathering, frost, and everyday spills. The ideal window to apply sealer is within the first three months of installation.
Top tip: If you need to cut slabs to fit, use a suitable stone cutter or angle grinder, with a good quality diamond-tipped blade, and water and dust suppression for clean cuts.



Related Blogs
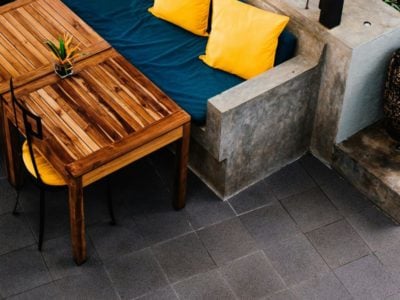
Don’t put off your dream garden any longer.
Start your patio project today!
From expert advice on quantities to premium paving materials, your local Turnbull team is here to help at every stage of your build.